- Secure order
- Easy return shipment
- Service-Hotline 03 69 61 69 10


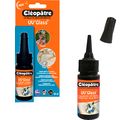

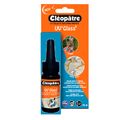


Discover your creative side with the UV Casting resin "Cléopâtre Resin UV'Glass"! This glossy, transparent resin offers you wonderful design possibilities and dries in just one minute thanks to the Cleopatre UV LEDs lamp.
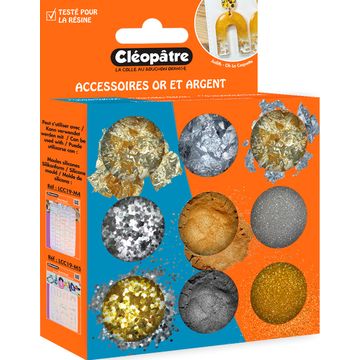
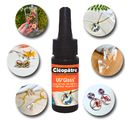
Experience crystal clear results without bubbling or yellowing, ideal for combining with moulds, glass, plastic or jewellery. Add dried flowers, gold leaf or glitter for customised designs. With 25 g content, for example, you can create up to 8 pieces of jewellery, with 100 g content up to 32 pieces of jewellery.
Use UV Casting resin "Cléopâtre Resin UV'Glass" at room temperatures of 20° to 25°, store it at 15° to 30° and keep the layer height between 1 and 3 mm for optimum results. If you notice sticky surfaces, simply cure your creation again under the UV lamp.
Remember to always work in a well-ventilated area and wear suitable protection such as gloves and a mask. Let yourself be inspired and create impressive works of art that are real eye-catchers!
Order your UV Casting resin "Cléopâtre Resin UV'Glass" now and get started with unmistakable creations today!
Tips to use:
Pour on resin: Pour a layer of resin 1 to 3 mm thick into the desired mould and leave it to harden for 1 minute under your UV lamp.
Personalisation: Now add decorations such as dried flowers or glitter and pour another layer of resin over it. Cure the creation again for 1 minute under your UV lamp.
Create multiple layers: Repeat the steps until you have reached the desired number of layers. Make sure that each layer is between 1 and 3 mm thick and cures completely.
Work to finish: Remove your creation from the mould as soon as the resin is completely dry and no longer sticky.
Good to know: If the resin is still sticky, leave it to cure for a few more minutes under your UV lamp. Take a short break between each curing process to avoid overheating.